


SVAAR 6PCS 00 Gauge Non Insulated Butt Connectors 2/0 AWG Uninsulated Butt Splice Connectors Crimp Repair Butt Splices Kit Tinned Copper Seamless Barrel Butt Splice Terminals & 6PCS 3:1 Heat Shrinks

 4.3 (138 items)
 Limited Time Sale
$13.19 cheaper than the new price!!
Free cash-on-delivery fees for purchases over $99
Product details
| Management number | 218143995 | Release Date | 2026/05/03 | List Price | $8.80 | Model Number | 218143995 | ||
|---|---|---|---|---|---|---|---|---|---|
| Category | |||||||||
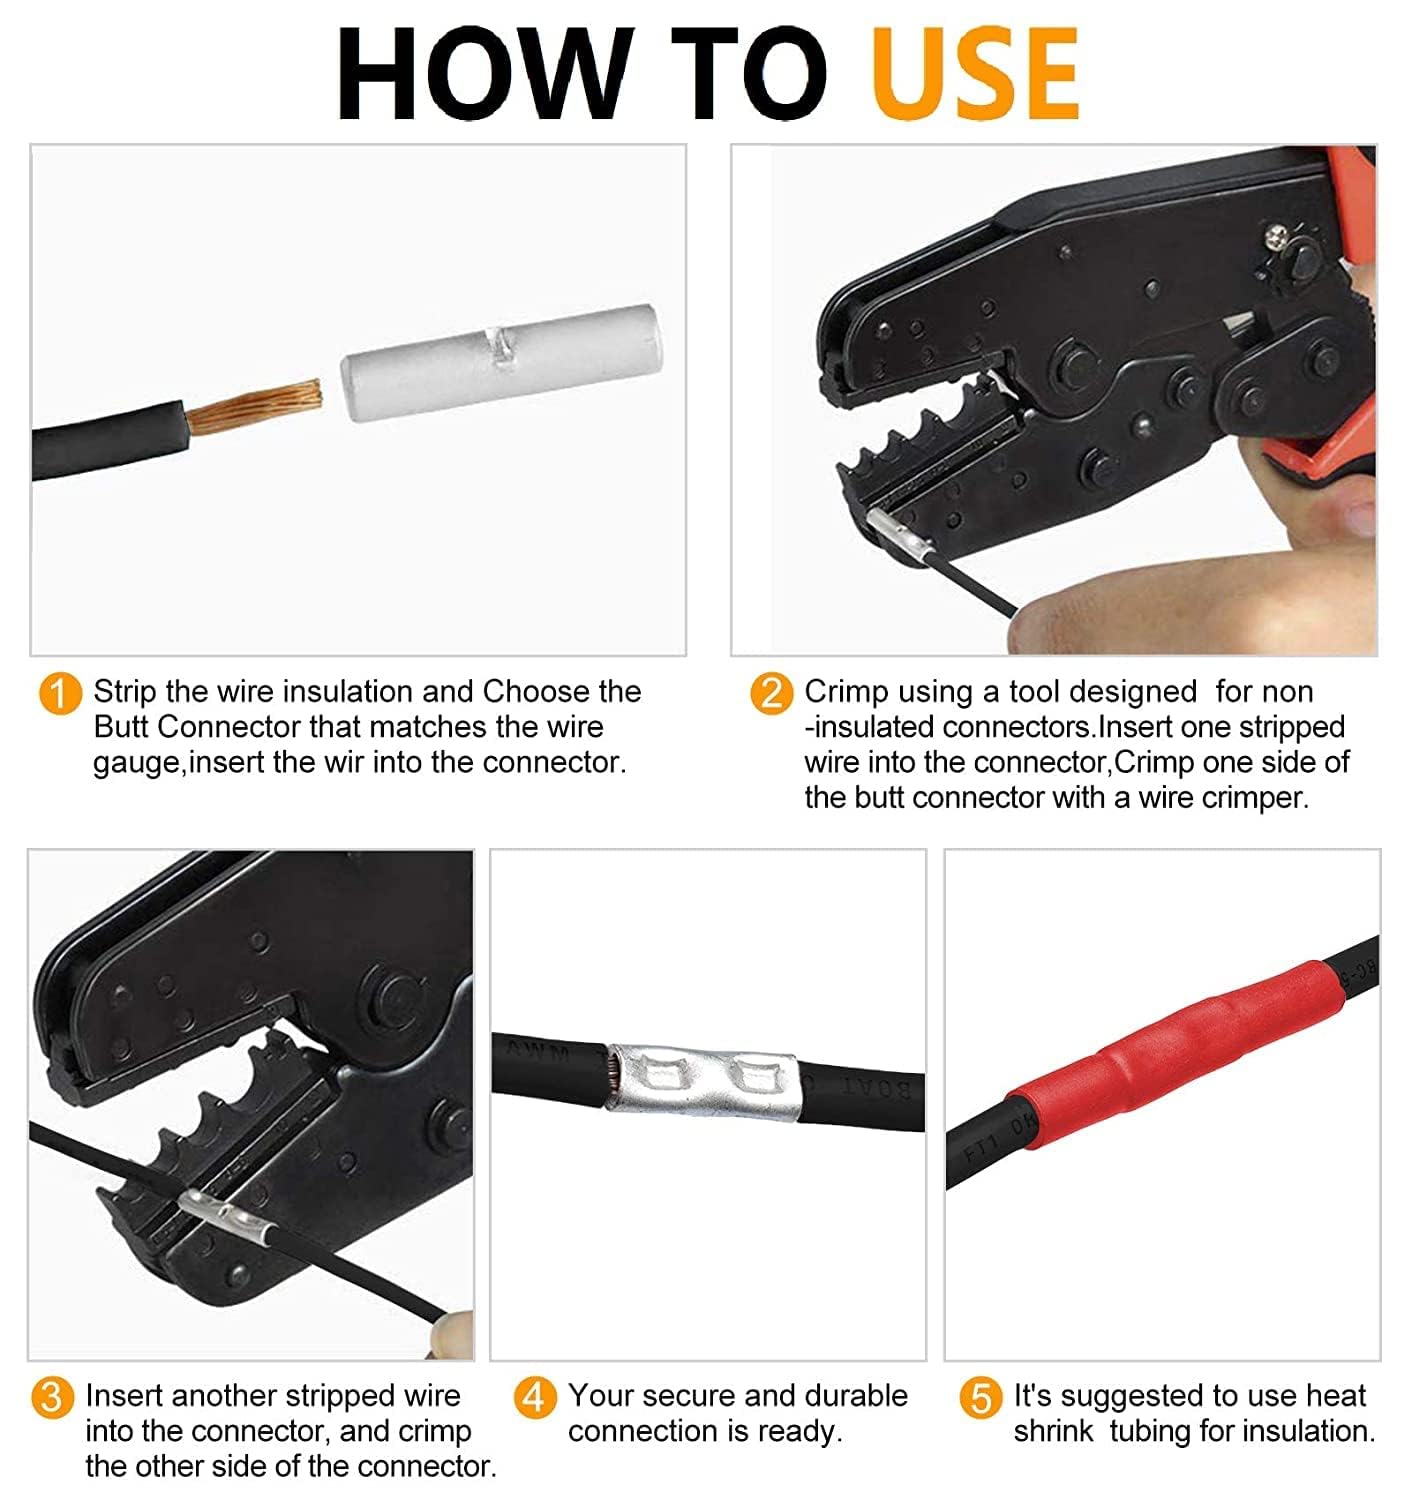
How to Use Butt Connectors?Butt connectors, also known as wire splice connectors or butt splices, are handy tools designed to connect two wires end-to-end. To use a butt connector, simply insert the wires, crimp securely, apply heat (if needed), and inspect the connection. Wire butt connectors are often used as an alternative to soldering for joining wires as there is no need to use the iron in this case, it is faster and more clean-cut for quick repairs and installations. They ensure a stable and conductive link to help maintain circuit integrity. This makes them essential components in important in car repairs, marine projects, and even everyday home electrical work. Understanding How Butt Connectors WorkButt connectors are tools designed for creating secure electrical connections. They connect two wires end-to-end, usually by crimping a metal barrel within the connector. When you insert the wires into the butt connector and crimp them, the metal barrel inside deforms and tightly grips the wires. A good crimp thus creates a solid mechanical and electrical bond that prevents the wires from separating and ensures continuous electrical conductivity. It also minimizes the risk of electrical failures that could lead to more significant problems. This is especially important when the wires might be exposed to constant vibration (like in a car) or moisture (like in a boat).Non-Insulated Butt ConnectorsMade entirely of Copper barrel with no insulation.Commonly used in indoor environments where insulation is not required or in applications where heat-shrink tubing or other insulation will be applied later.Advantages: Cost-effective and versatile, allowing for customized insulation.Limitations: Not suitable for exposed or outdoor environments without additional protection.For best results with these wire butt splices, we recommend insulating your connections with dual-wall, adhesive-lined heat shrink tubing. Heat-shrink with an inner adhesive lining that melts when heated, creating a stronger seal. Offers a secure, watertight seal and protects against moisture, corrosion, and dirt.Step-by-Step Guide: Using Butt ConnectorsUsing butt connectors requires just a few basic tools and materials. The key to a successful connection is following each step carefully to ensure a strong and secure bond between the wires. Remember: Always match the butt connector size to the wire gauge. A too-small connector can cause a loose connection, while a too-large one can make crimping difficult.Step 1: InsertBegin by preparing the wires for insertion. First, measure the length of half of the Non-Insulated butt connector. Strip the cable to the same length. If the Non-Insulated butt connector has a total length of 15 millimeters, then strip the cable over a length of 7.5 millimeters.Take care to strip the wire cleanly without damaging the wire strands, as this will ensure a strong and secure connection. Once the wires are prepared, insert the stripped ends into opposite sides of the butt connector. Make sure the wires are fully seated within the connector, with the metal strands securely touching the metal barrel inside.Step 2: CrimpAfter the wires are inserted, it is time to crimp the connector. Place the butt connector into the crimping tool and align it properly with the tool’s crimping die. Squeeze the tool firmly to crimp the metal barrel inside the connector around the wires. To ensure the connection is solid, gently tug on the wires to verify that they are held firmly in place.A good crimp will tightly secure the wires without damaging them. Step 3: HeatHeat Shrink (if applicable): After crimping, apply heat evenly to the connector using a heat gun until the tubing fully shrinks and adhesive flows, creating a secure seal. Use a heat gun to shrink the tubing around the connector evenly. Move the heat gun back and forth to avoid overheating, and watch as the tubing forms a tight, protective seal around the connection. This heat-shrink step is particularly important in environments exposed to moisture, as it adds extra protection to your connection.Step 4: InspectFinally, inspect the connection to ensure everything is secure and functional. Start by Check the crimp with a light pull to ensure it’s secure, visually checking for exposed wires or gaps in the heat-shrink tubing. Then, use a continuity tester to confirm that the connection allows electricity to flow properly. This inspection step ensures that your work is both mechanically secure and electrically sound, giving you confidence in its reliability.
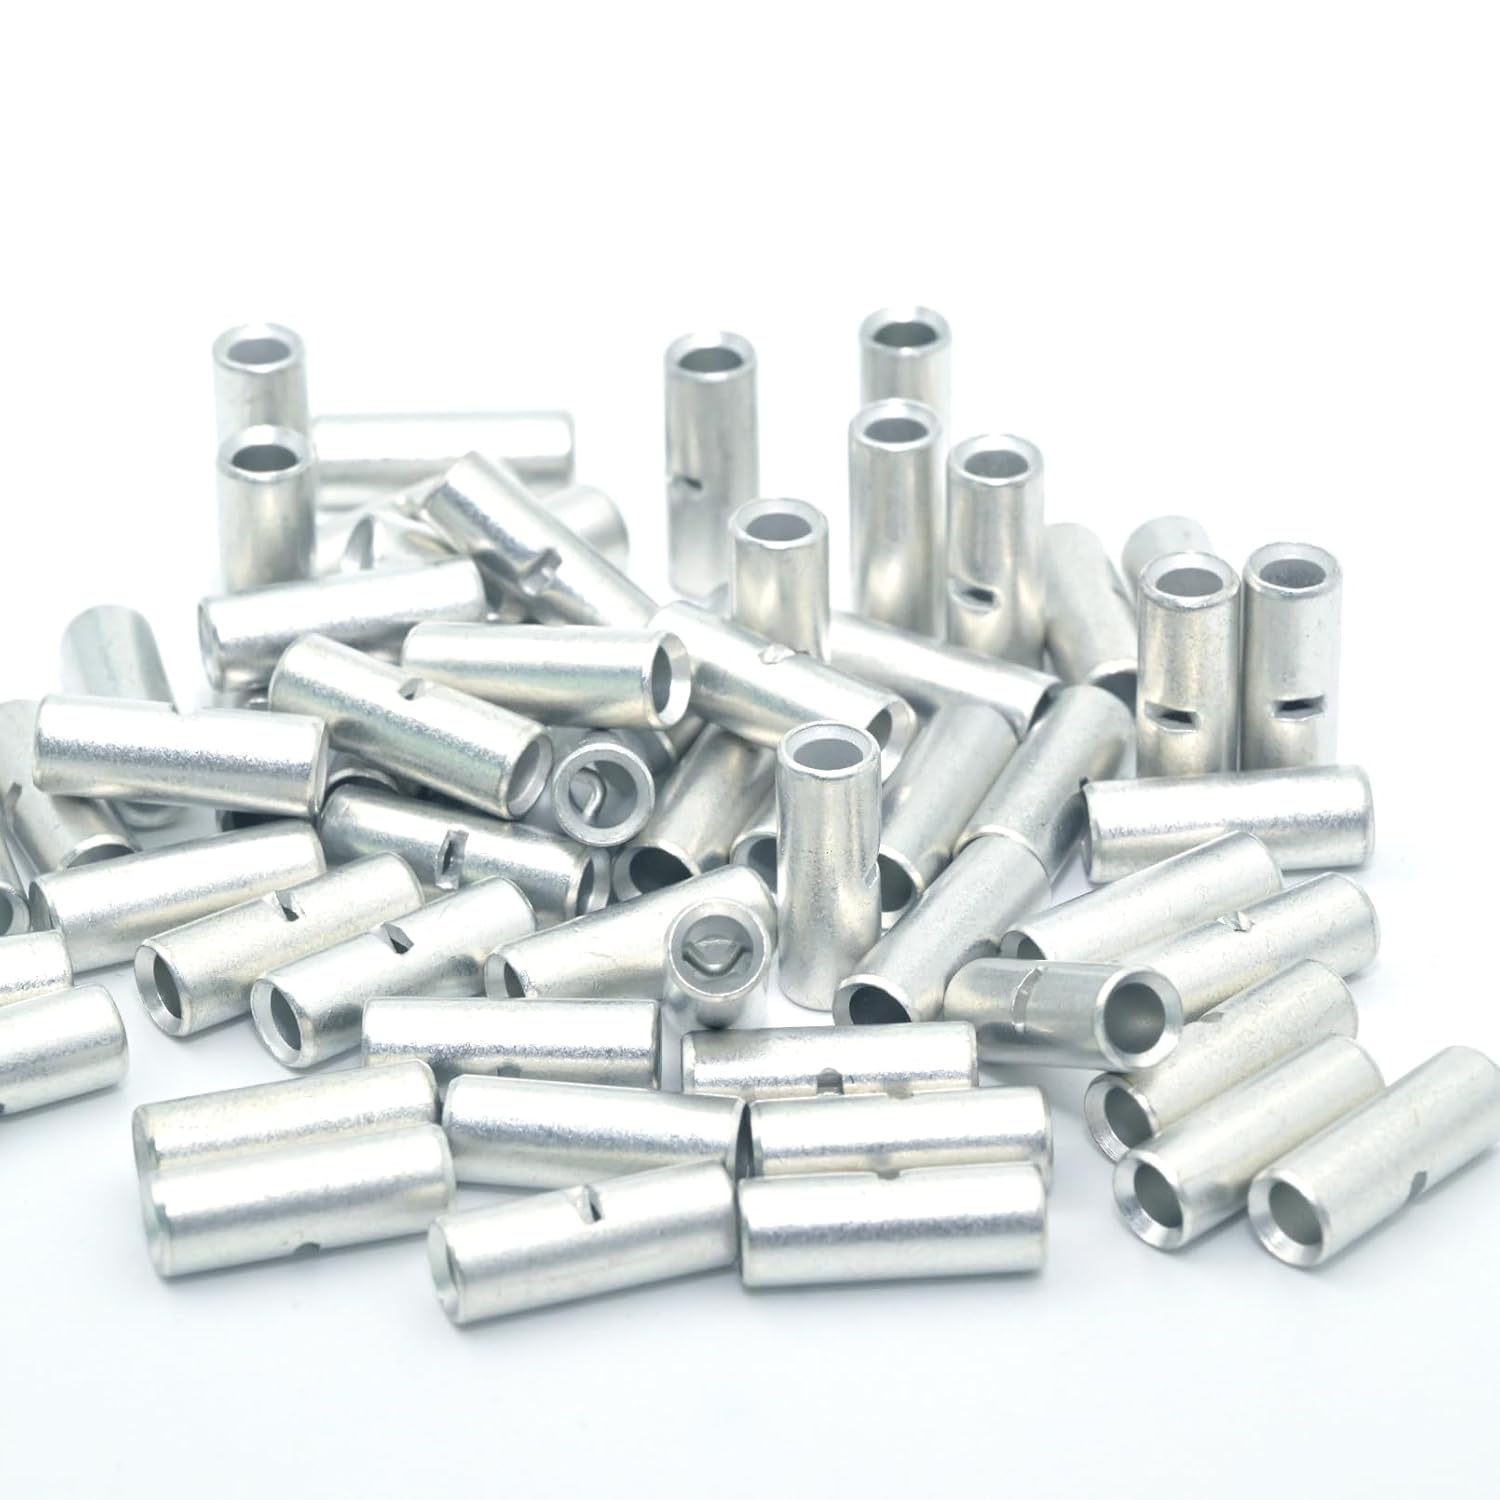
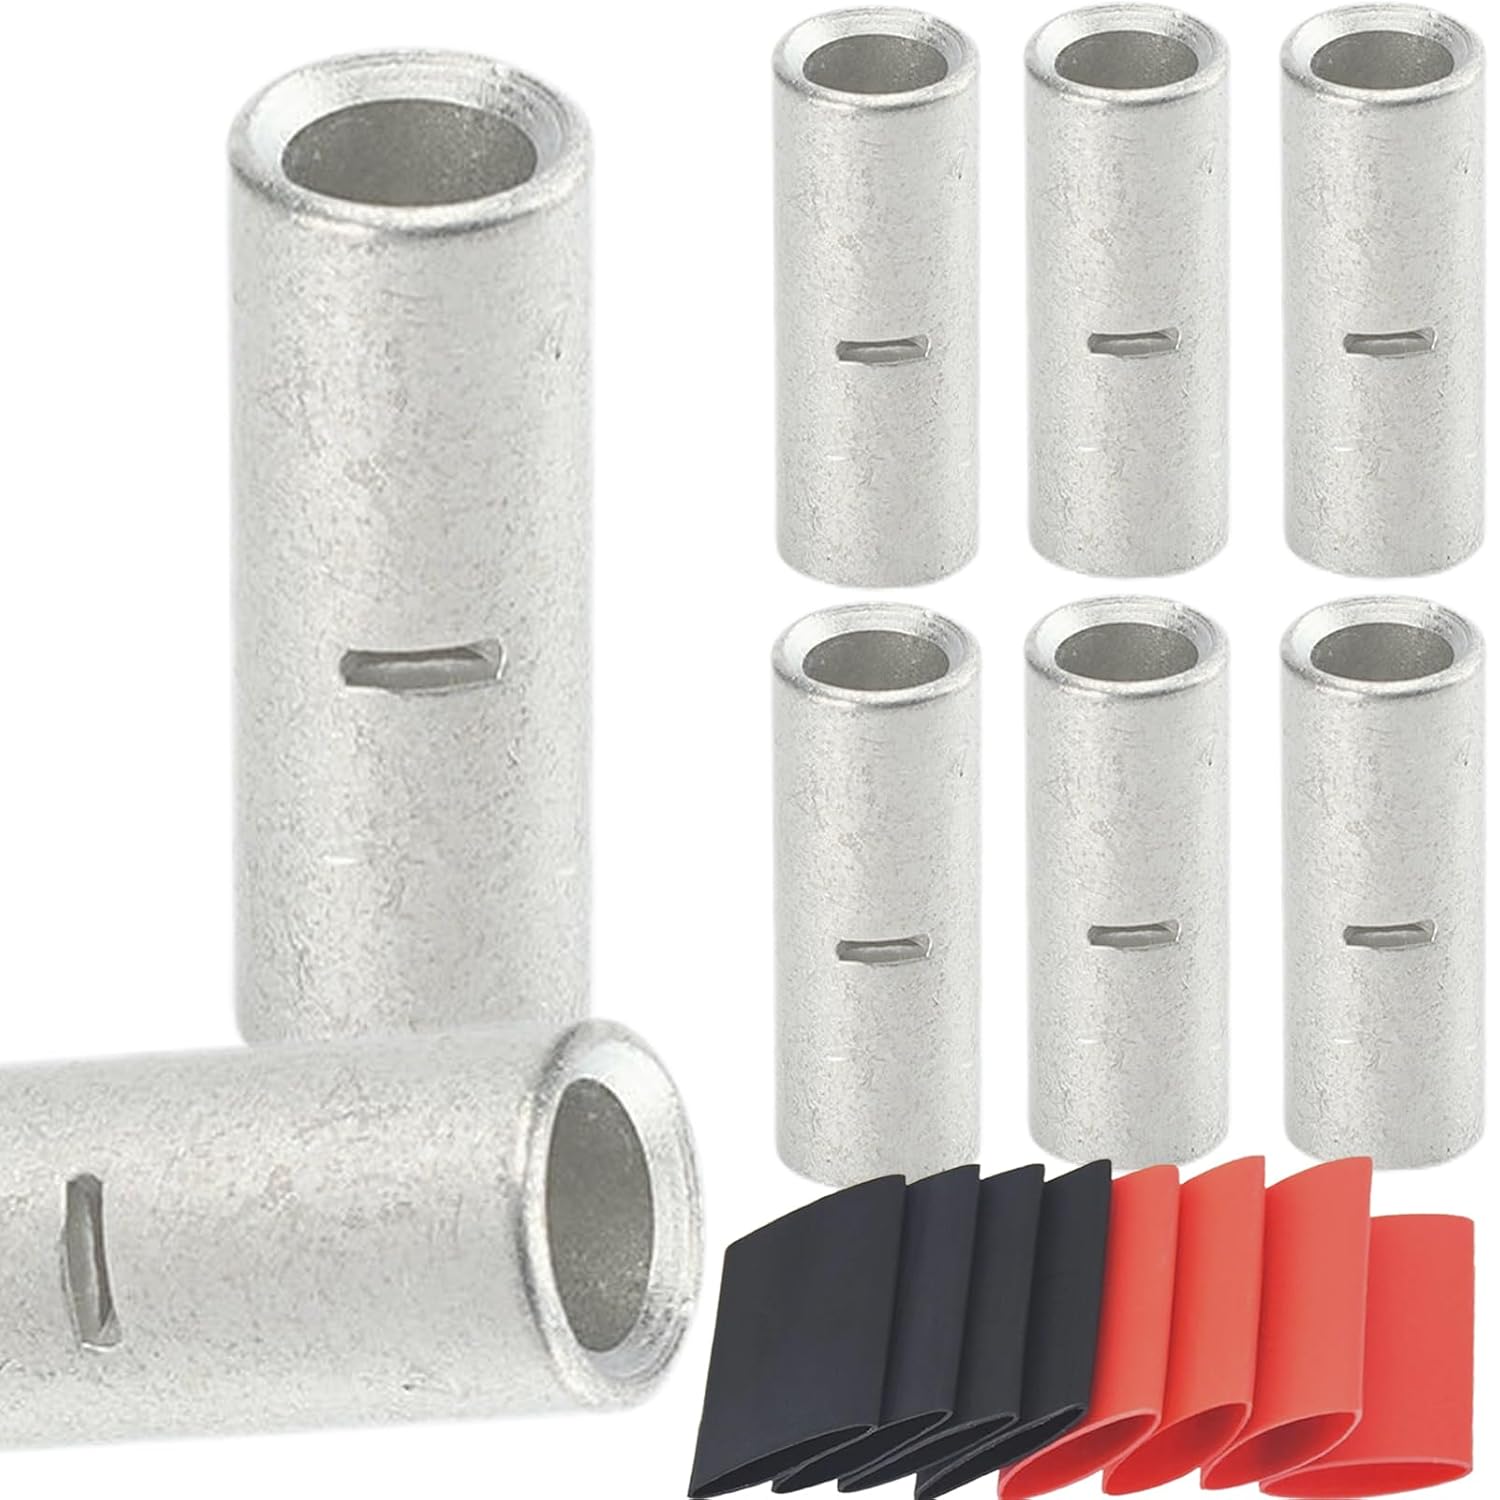
- Package Includes - 6 PCS 2/0 Gauge (00 AWG) Heavy-Duty Marine-Grade Non-Insulated Butt Splice Connectors. Rated For 600 Volts. Designed to fit stranded or flexibly stranded copper wire and cable(CLASS B & C Copper Conductors). Can be CRlMPED or SOLDERED - ideal for most applications. Crimped for Mechanical Reliability. Soldered for Strength & Conductivity. One More Thing: We provide 6 PCS 3:1 Dual Wall Adhesive Heat Shrink Tubing Tube for your work (3 PCS Black, 3 PCS Red color). Sealed for Maximum Durability.
- Matte Tinned Copper - SVAAR 00 Gauge(2/0 AWG) Butt Splice Wire Connectors are crafted from T2 low-resistivity purple copper (99.9% pure copper). This high-purity copper construction delivers exceptional durability and excellent electrical conductivity. Additionally, a specialized matte tin-plating process enhances conductivity further while providing superior corrosion resistance.
- 100% Annealed Copper - All SVAAR Butt Connectors are made of 100% annealed electrolytic-grade copper. The connectors undergo annealing at a specific temperature to enhance material properties and enable better crimping, thereby reducing the risk of breakage during the crimping process.
- Safer Design - These Butt Splice Connectors are sized and engineered for use with stranded or flexibly stranded copper wires and cables. These butt splices conform to the UL486 standard, and their thick material ensures ultra-strong crimps while preventing wires from slipping out. Additionally, these non-insulated butt splice connectors feature a wire stop barrier in the center, which guarantees reliable compression performance.
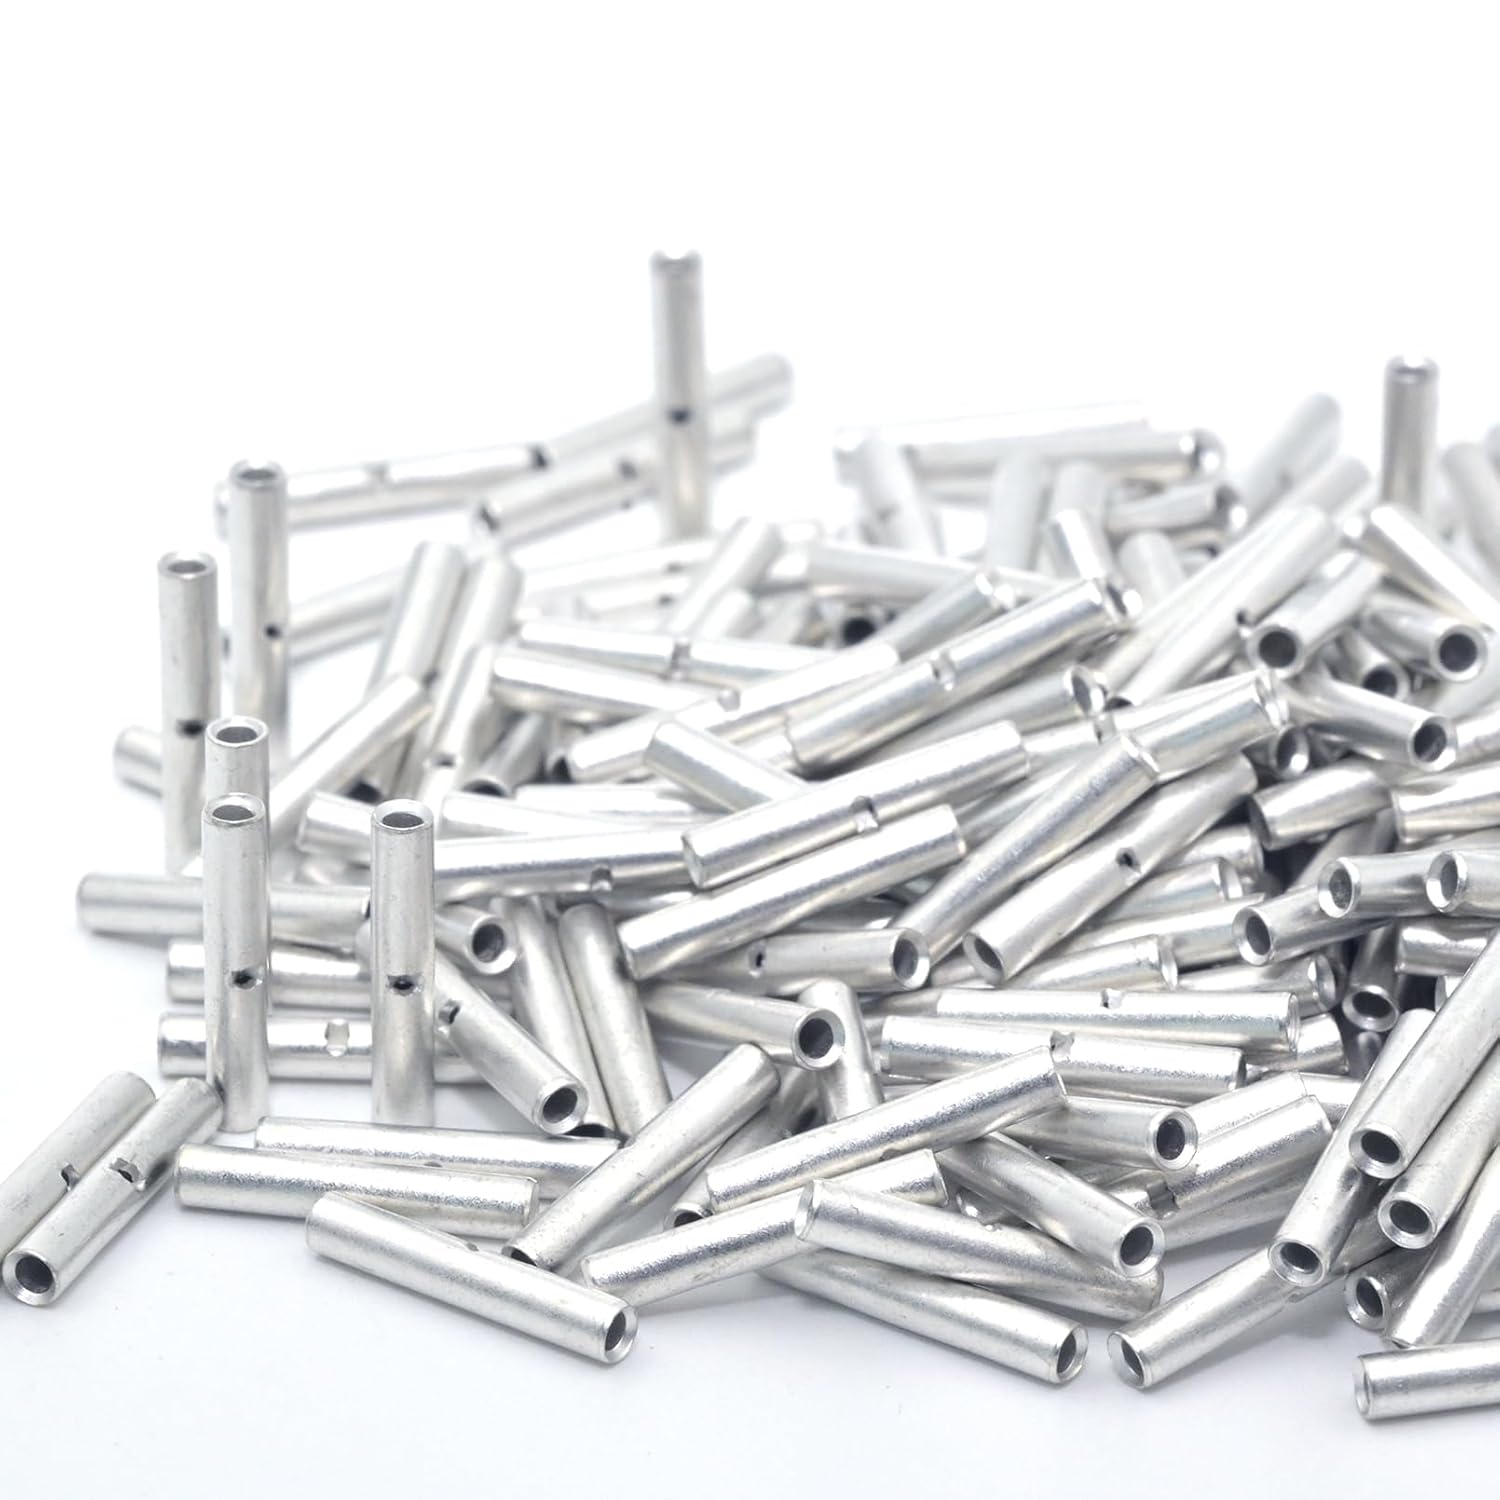
- SEAMLESS TUBULAR BARREL FOR STRONG CRIMPS - These heavy-duty seamless wire butt splices are engineered for high-amperage applications. Their thick, seamless pure copper barrels ensure maximum conductivity and ultra-strong crimps—they won’t split during crimping, delivering rock-solid connections that prevent wire pull-out. These butt splice connectors guarantee consistently strong, long-lasting, and high-performance electrical connections between wires every time.
- RECOMMENDED HEAT SHRINK TUBING - For best results with these wire butt splices, we recommend insulating your connections with dual-wall, adhesive-lined heat shrink tubing. When used with the included heat shrink tubing, these butt connectors provide a secure, insulated seal. Additionally, the color-coded heat shrink simplifies polarity identification, making installation hassle-free.
- WIDE APPLICATIONS - Copper butt connectors are used to mate, connect, or terminate single or multiple wires. Commonly applied in vehicle systems—including automotive and marine applications—they’re also suitable for various electrical setups requiring wire connections. These butt splices terminals are sized for stranded or flexibly stranded copper wire and cable, but are not rated for aluminum conductors.
- HOW TO CHOOSE AND USE - SVAAR butt splice connectors give you the flexibility to select from a wide range of wire sizes to match your requirements and applications. When crimping, choose the right butt connectors that fit the wire gauge. Note that some cable manufacturers oversize their cable gauges (this is especially common with audio cables), which may prevent a direct fit. We recommend checking the product dimensions to ensure the connectors fit properly before purchasing.
- EASY AND SAFE TO USE - These butt splice connectors feature chamfered barrel ends for fast, easy wire insertion from both sides, plus a built-in wire stop to ensure correct positioning. They work well for building custom wire harnesses or repairing existing wiring—easy to install, effortless to maintain, and engineered to deliver greater safety, power, and performance than other wiring methods.
- BUYER CONFIDENCE - Always match the size and gauge of terminals, cables, and lugs to ensure a proper fit. It’s important to use these connectors with compatible copper cables. We recommend double-checking the dimensions to confirm accuracy before purchasing—this ensures your connections are secure and long-lasting. If you encounter any issues, we stand ready to resolve them for you. Everything you need to get started is included here.
| Color | Tinned Copper |
|---|---|
| Gauge | 00 Gauge (2/0 AWG) |
| Model | 2/0 AWG (BN 70) Tinned Copper |
| Terminal | Butt Terminal |
| Brand Name | SVAAR |
| Part Number | BN-70-00-1 |
| Manufacturer | SVAAR |
| Material Type | Copper, Seamless Barrel, Tinned Pure Copper |
| Connector Type | Crimp Butt Splice, Non-insulated Tinned Copper Compression Splice, Seamless Barrel Butt Splice |
| Maximum Voltage | 600 Volts |
| Number of Items | 6 |
| Contact Material | Tinned Pure Copper |
| Included Components | Tinned Copper Non-Insulated Splice with 3:1 Heat Shrinks |
| Insulation Material Type | Non-Insulated Butt Splices with 3:1 Heat Shrinks |
Roasting Pans


Butt


Correction of product information
If you notice any omissions or errors in the product information on this page, please use the correction request form below.
Correction Request Form